⚡️ Getting Started
Deploy with Wrangler
The fastest and easiest way to deploy this project is with wrangler (cloudflare's CLI tool for managing workers).
This project already comes with wrangler installed and configured, so all you need to do is clone this repository and run pnpm run deploy.
# 1. Clone the repository
git clone https://github.com/AdiRishi/turborepo-remote-cache-cloudflare.git

# 2. Install packages
pnpm install

# 3. Create the R2 bucket for storage
pnpm wrangler r2 bucket create turborepo-cache

# 4. Publish the project
pnpm run deploy

# 5. Set a Bearer auth token
echo "SECRET" | pnpm wrangler secret put TURBO_TOKEN
And that's it! You should now have a worker deployed to your Cloudflare account.
The next step is to configure your Turborepo project to use this worker as a remote cache. Read the Setup Turborepo section for more information.
GitHub Actions Setup
If you went through the one-click deploy process, or decided to fork this repository, you will need to do some additional setup to get the GitHub actions working.
In order to successfully run the deploy Github action you will need the following secrets
CLOUDFLARE_API_TOKENCLOUDFLARE_ACCOUNT_IDTURBO_TOKEN
For those who have forked this repository, feel free to delete the release.yml, docs-pr-preview.yml and deploy-docs.yml workflow fils. These are used as part of the main projects CI/CD pipeline and are not needed.
One-click Deploy
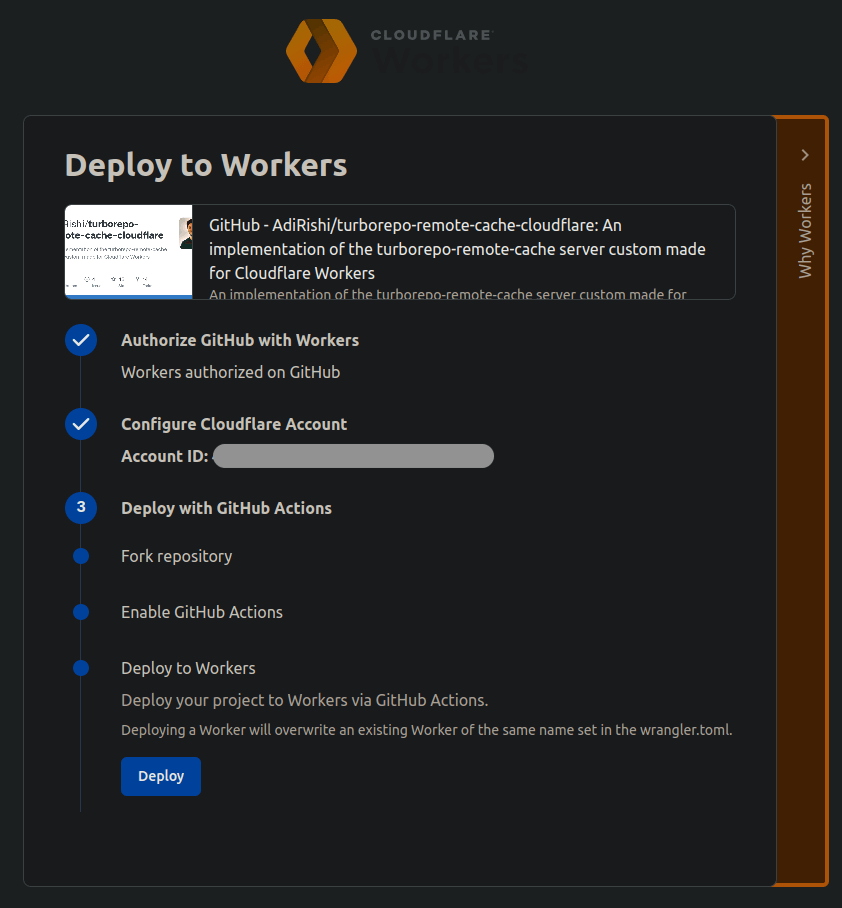
Cloudflare has a one-click deploy feature that guides new users through the process of deploying a worker. If you have never used Cloudflare workers before, this will take you through a general guide on
- How to create a Cloudflare account and link it to GitHub
- Creating a Cloudflare workers API token for use in CI
- Forking this repository into your own GitHub account
- Deploying this project to your Cloudflare account
Gotchas with One-click Deploy
The one click deploy does not go through the steps of setting up workflow secrets and how to enable R2 storage on your account.
If you have never used R2 before on your account, you will need enable before clicking "Deploy" at step 3 (see image below).

Note that you will need to enter your credit card details, but will not be charged. Cloudflare R2 has 10GB of free storage, and you will not be charged unless you exceed this limit.
